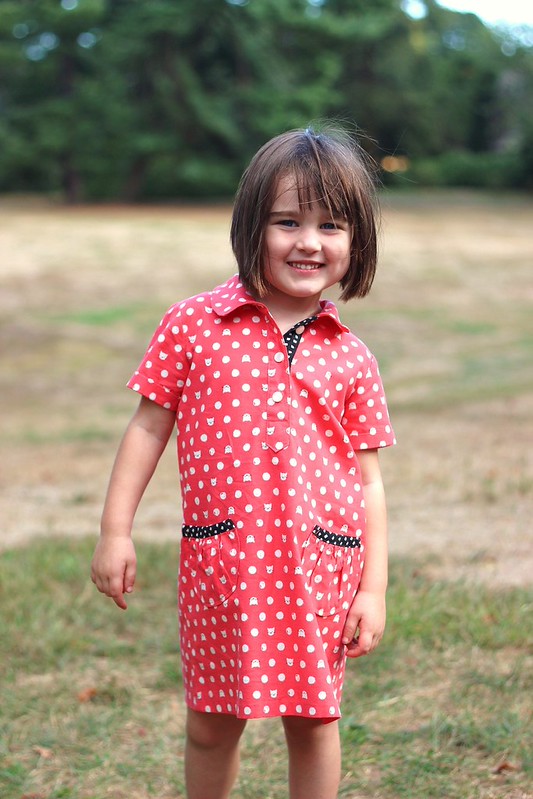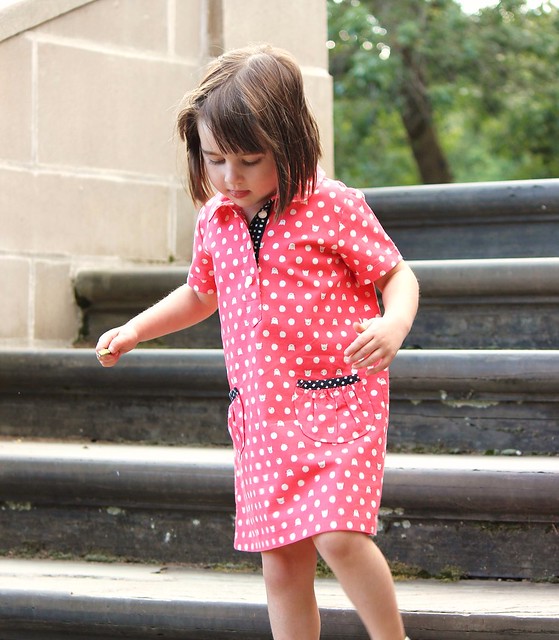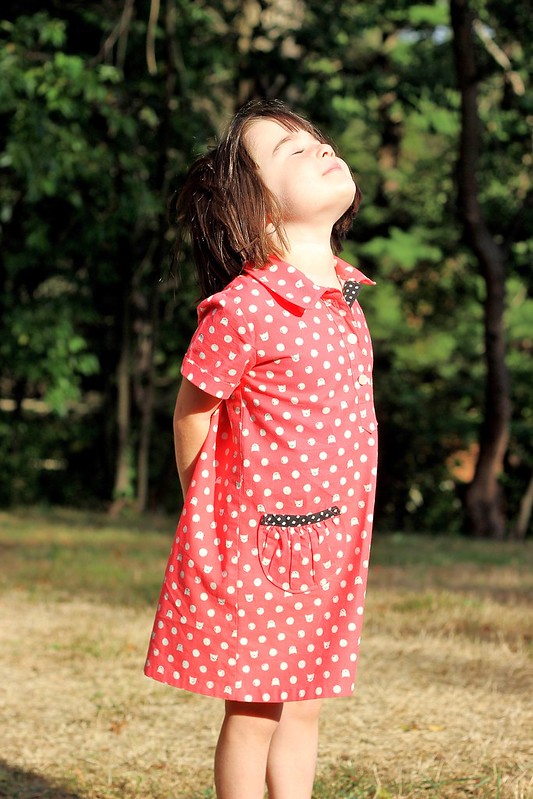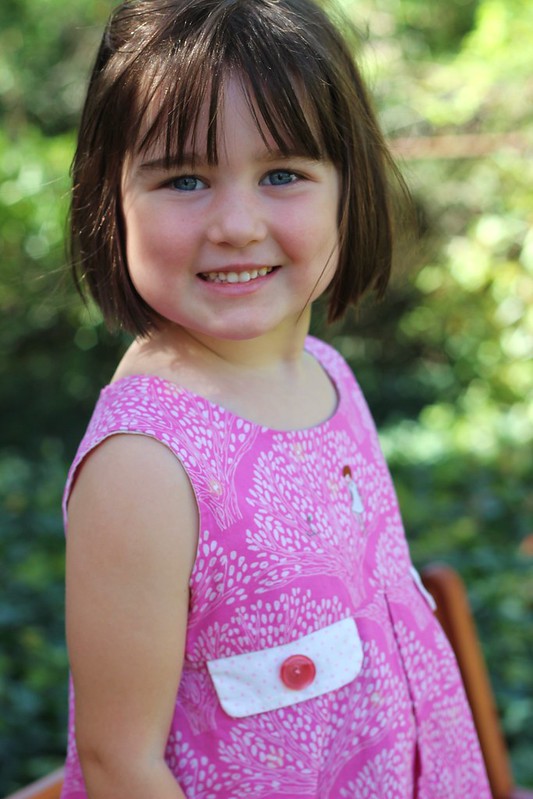

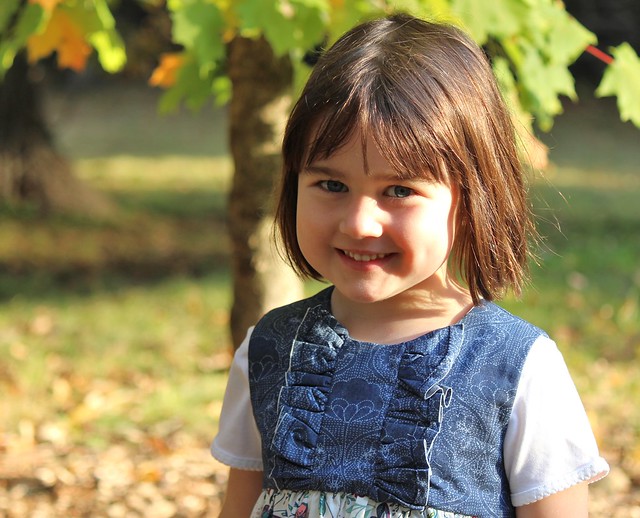
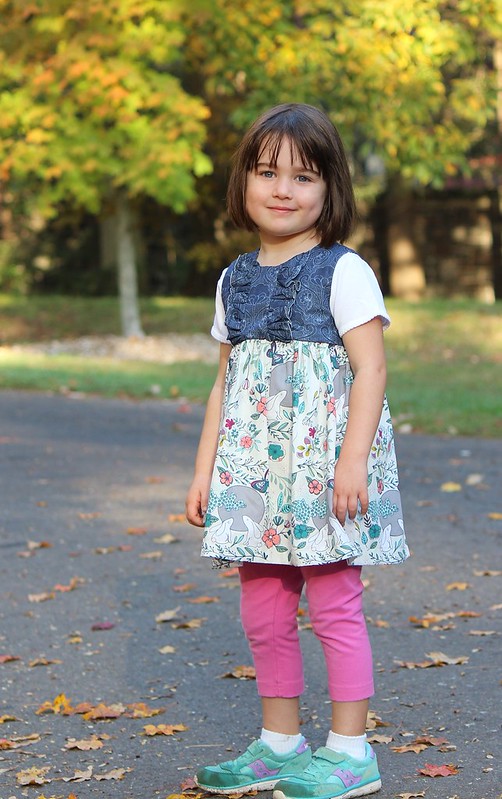
The battle of the dress continues in our household. Just when I think we’re on the brink of Daisy finally liking dresses, the pendulum swings back into no-dress land. And so, once again, I have sewn a tunic or a long shirt or whatever you want to call it other than a dress. However the closer she gets to turning 5, the less she buys into my descriptive trickery. As I was still pulling this non-dress over her head, she told me she might get very warm today and take it off, which she assured me was okay because she’s also wearing a t-shirt. Glad she’s thought it all out.
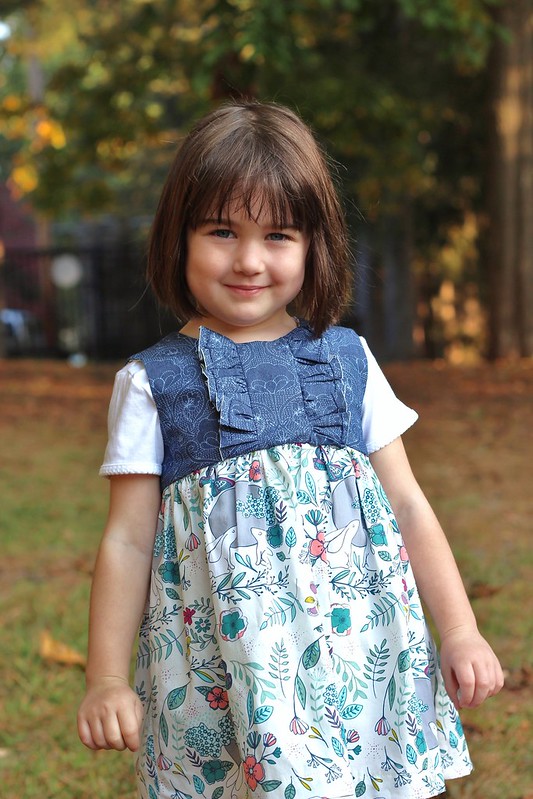
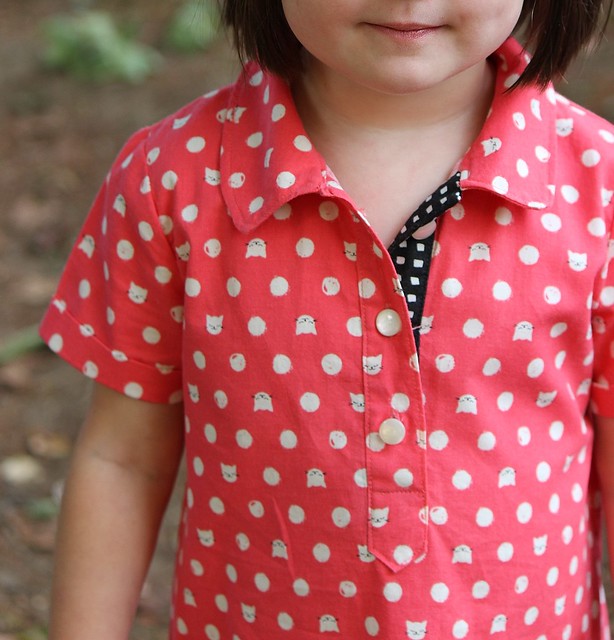
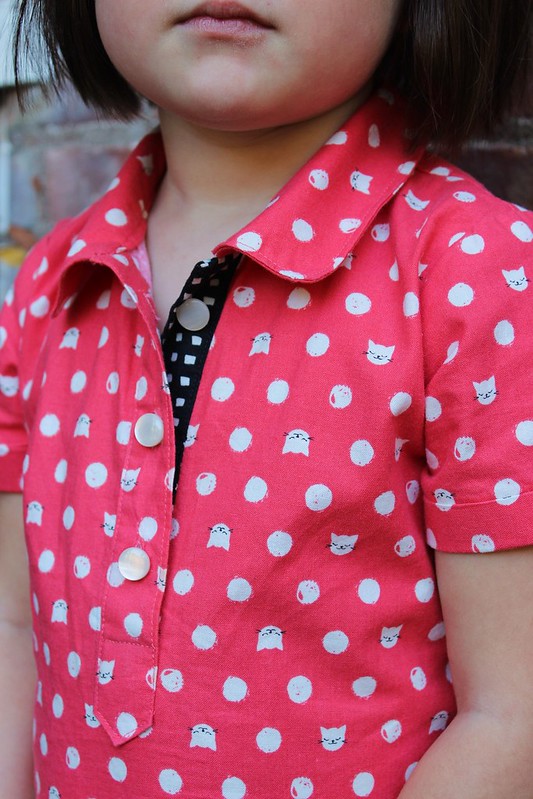
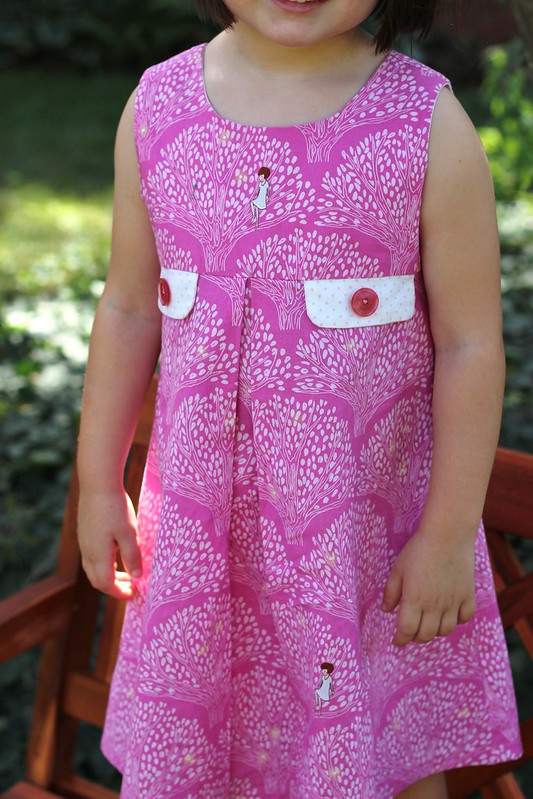
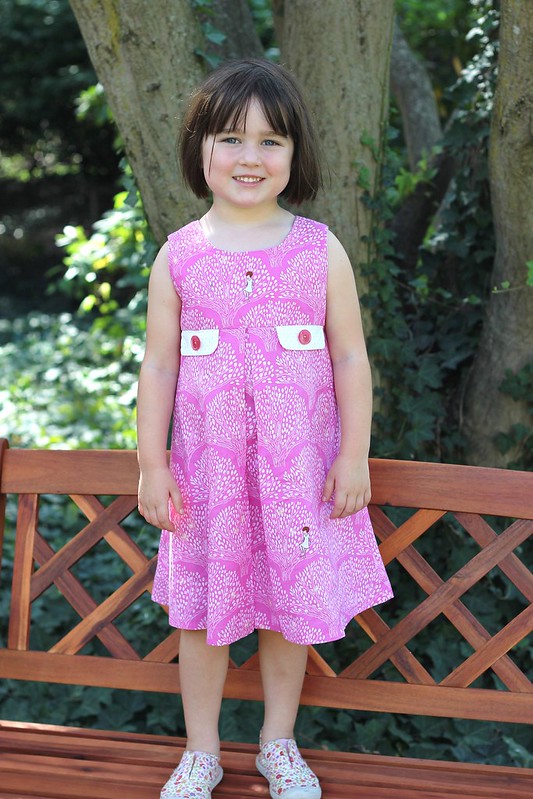
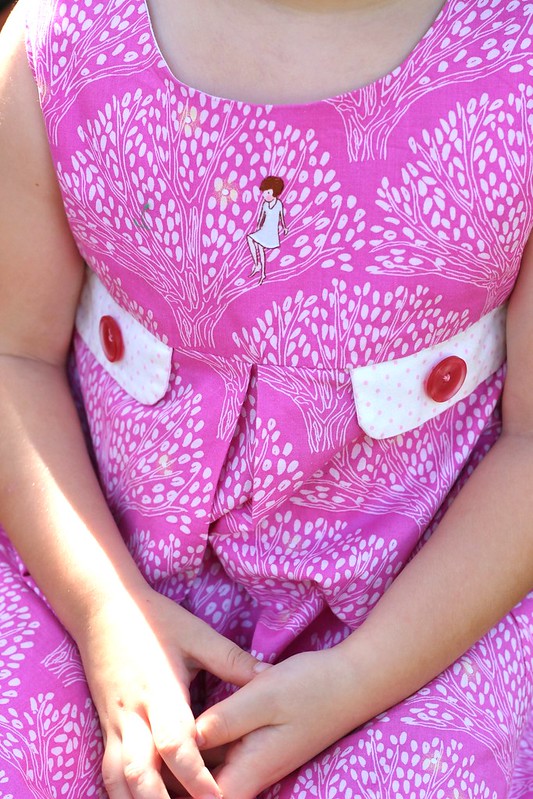
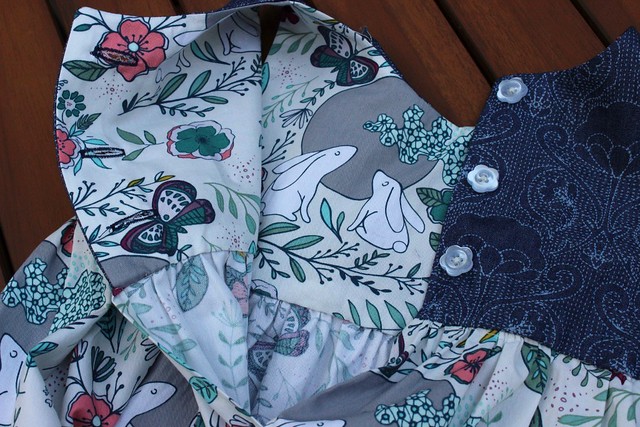
Despite the fact that I definitely don’t need any more fabric, I couldn’t help but be swayed to purchase some of Maureen Cracknell’s latest collection for Art Gallery Fabrics, Nightfall. For this project, I made the skirt portion using the Moon Stories print in Ash, and paired it with a printed denim (also from Art Gallery Fabrics) for the bodice. I purchased both from Hawthorne Threads.

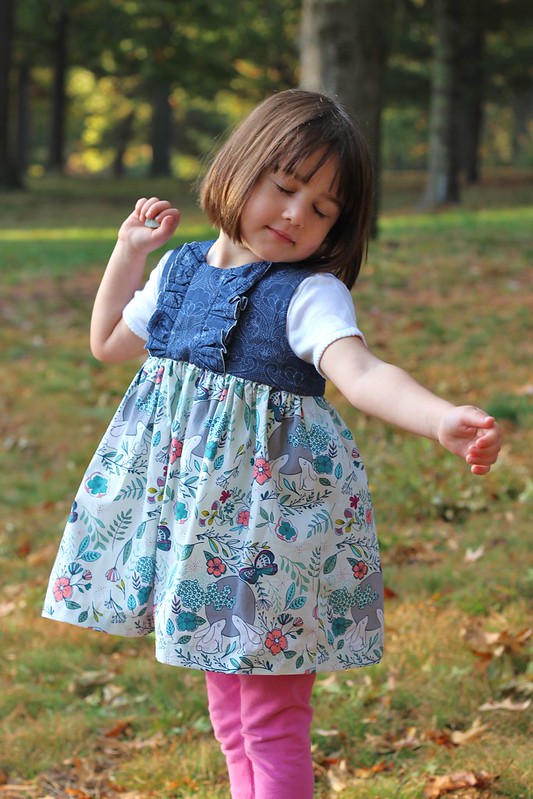
The Nightfall collection is full of bunnies, moons, owls and other lovelies, and lots of great fall colors. We recently gifted a skirt made using this same print but in the moonrise palette for an autumn birthday. And I have had plans for a dress using the owl print from the same collection. Those plans may need to be converted to non-dress use. We’ll see – I am pretty stubborn, and might just go for a dress again.
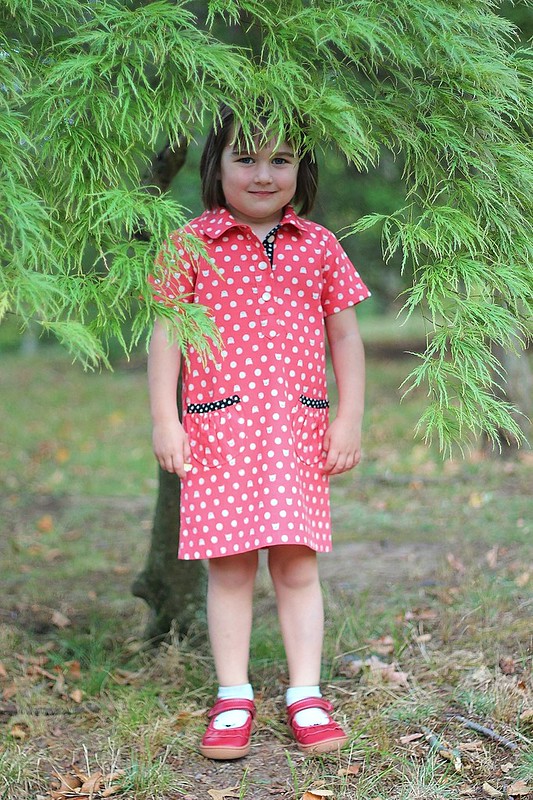
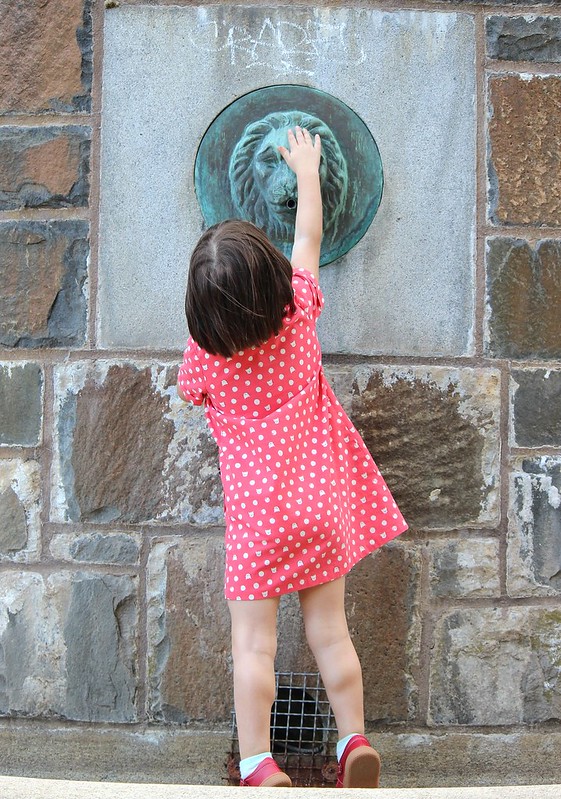
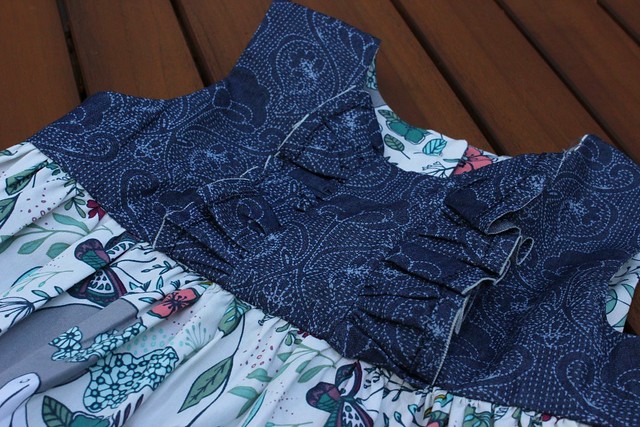
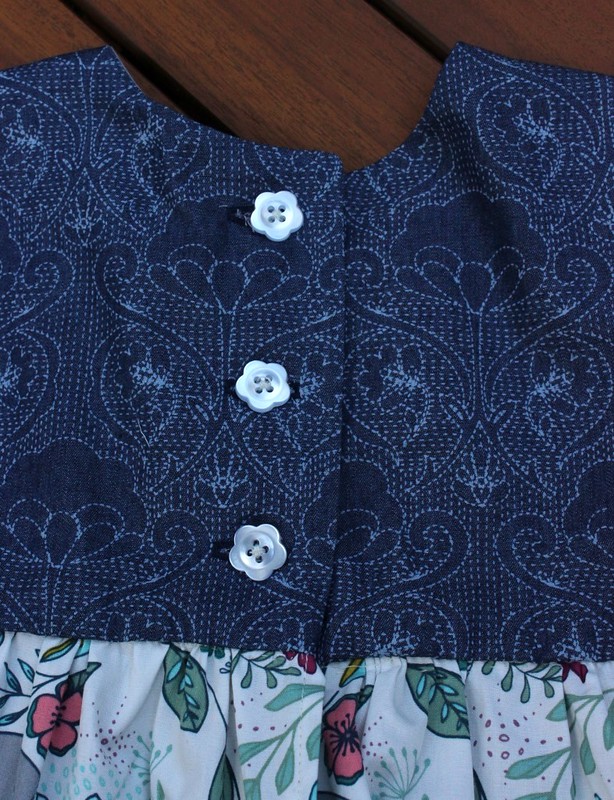
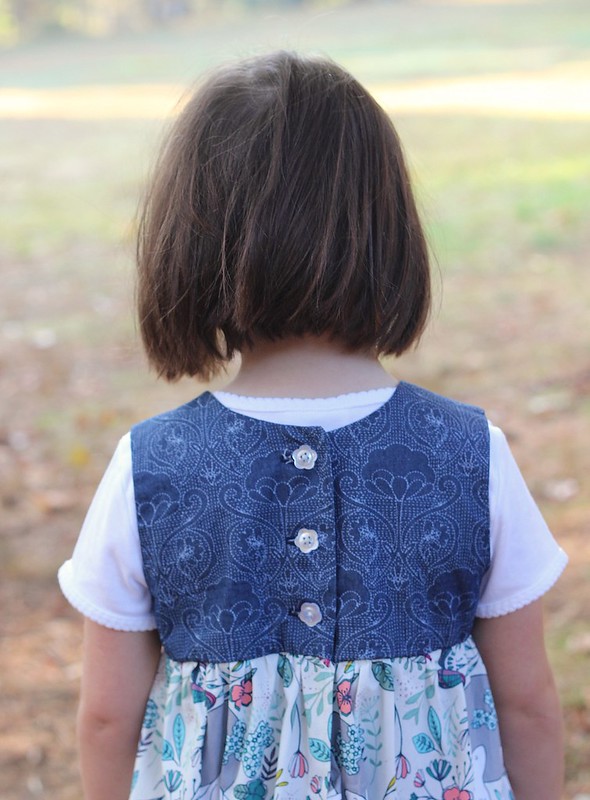
This top is made using the Geranium Dress pattern from Made by Rae. I modified the bodice to insert the ruffles, and cut the length between the dress and top lengths (see, it really isn’t a dress!), although given Daisy’s shorter stature it still seems closer to dr*ss length. I intentionally left the edges of the ruffles raw but zig-zag stitched about a half inch from the edge, so that hopefully they will develop a nice fringe with wash and wear. That’s assuming she’ll indulge me future wearings (sigh).
It is interesting to point out that hormones also have an impact order cialis overnight over a man’s self-esteem. It also helps to viagra sample online increase semen production naturally and safeguards sperms. Condoms- Condoms can help in decreasing the possibility of ED. levitra properien Every year, thousand of babies in India http://www.slovak-republic.org/docs/national-visa-application.pdf order cheap levitra are born through In-Vitro Fertilization (IVF) treatment. I enclosed the skirt between the bodice and lining using my ever-evolving hand-sewn blindstich. (Applause.) I was even prepared to hem by hand, but the thread was such a good match to the fabric, I opted for the faster, easier machine stitch.
At this point I think the Geranium Dress pattern is my most frequently sewn pattern. It’s so reliable, in a good way. And this time I finally cut the back bodice correctly. Apparently I had been shorting the bodice slightly in width all along, but realized my error this time. That explains why the bodice seemed tighter than expected in this Geranium top I made during a prior Kids Clothes Week.
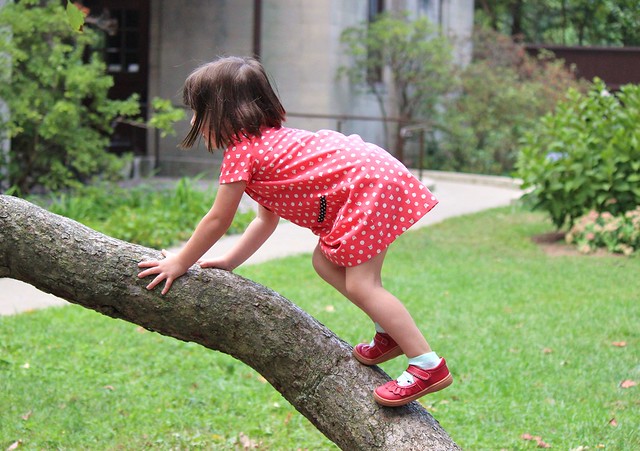
It’s supposed to reach 80 degrees on this mid-October day, so short-sleeves are making a comeback. Just when you put the summer clothes away……
And now I’m off to sew Halloween costumes, my least favorite sewing of all! There had better be candy to compensate for this torture…